Are you tired of being limited by the default settings on your Android phone? Do you want to unlock the full potential of your device? Enabling developer options on your Android is the first step to unleashing its power. In this blog post, we will guide you through the process of enabling developer options on your Android device, so you can customize your phone to your liking.
Enabling developer options on Android may seem daunting, but it is actually a simple process that anyone can do. With developer options enabled, you can access advanced settings and features that are not available to the average user. This includes options to speed up your phone, improve battery life, and customize the user interface. So, whether you are a tech enthusiast or just looking to get the most out of your Android phone, this guide is for you. Let’s get started!
Are you tired of being limited by the default settings on your Android device? Do you want to unleash the full potential of your phone or tablet? Then it’s time to enable Developer Options. In this blog post, we’ll show you how to do it and explore the top features you can utilize to customize your Android experience.
Table of Contents
1. What are Developer Options?
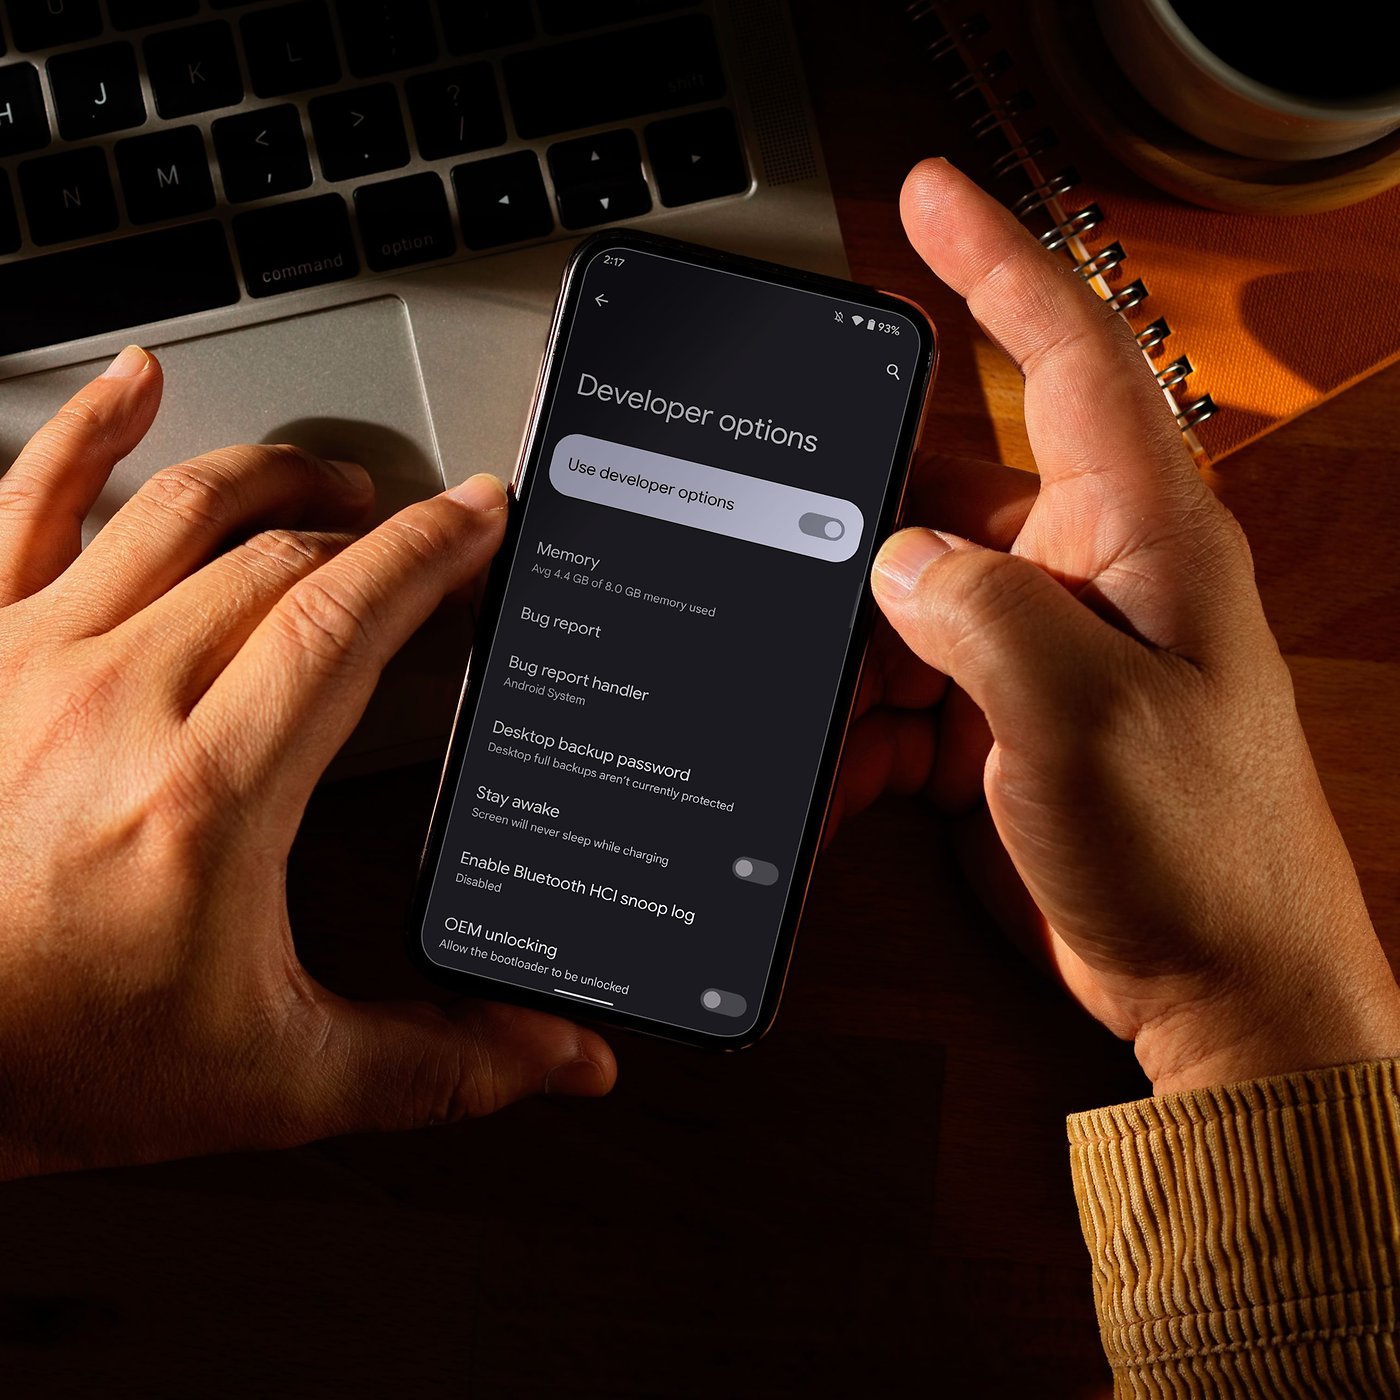
Developer Options is a hidden menu in the settings of your Android device that provides access to advanced features and settings for app development and debugging. It’s intended for developers, but it can also be useful for power users who want to tweak their device’s performance and customize the user interface.
2. How to Enable Developer Options
Enabling Developer Options is a simple process, but the steps may vary slightly depending on your device and Android version. Here’s a general guide:
1. Go to your device’s Settings app.
2. Scroll down to About phone or About tablet and tap on it.
3. Look for Build number or Build version and tap on it repeatedly (usually 7 times) until you see a message that says “You are now a developer!”
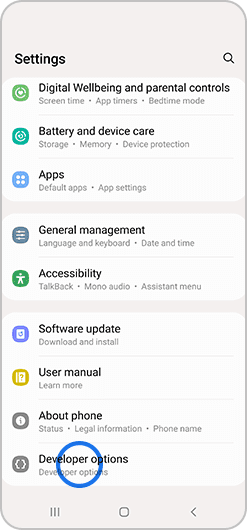
4. Go back to the main Settings screen and you should see Developer Options listed.
3. Top Features to Utilize
Now that you’ve enabled Developer Options, here are some of the top features you can use to enhance your Android experience:
– USB debugging: This feature allows you to connect your device to a computer and use Android Debug Bridge (ADB) to debug apps, install custom ROMs, and more.
– Animation scale: By adjusting the animation scale settings, you can speed up or slow down the animations that occur when you open and close apps, switch between screens, and perform other actions.
– Force GPU rendering: This option forces your device to use the graphics processing unit (GPU) instead of the central processing unit (CPU) for rendering graphics, which can improve performance in some cases.
– Show touches: This feature displays a visual cue when you touch the screen, which can be helpful for demonstrating or troubleshooting apps.
– Stay awake: When enabled, this option prevents your device from going to sleep while it’s charging, which can be useful for development and testing.
4. Tips and Tricks
Here are some additional tips and tricks for customizing your Android experience with Developer Options:
– Change the default app settings: Under the Apps section of Developer Options, you can change the default settings for things like app permissions, background processes, and battery optimization.
– Customize the status bar: By enabling System UI Tuner, you can add or remove icons from the status bar, rearrange the quick settings tiles, and more.
– Enable dark mode: Under the Display section of Developer Options, you can enable a system-wide dark mode that reduces eye strain and saves battery life on devices with OLED screens.
5. Conclusion
Enabling Developer Options can unlock a whole new world of customization and performance tweaks for your Android device. By utilizing the top features and tips we’ve outlined, you can make your device work better and look exactly how you want it to. So go ahead, enable Developer Options and start exploring!
Frequently Asked Questions
Developer options are a set of advanced settings that allow you to access and customize features that are not available in the standard Android settings menu. Enabling developer options can give you greater control over your device, allowing you to:
– Speed up animations and transitions
– Enable USB debugging for advanced app development
– Access advanced networking and wireless options
– Customize app permissions and background processes
– Monitor and improve your device’s performance
By enabling developer options, you can unlock the full potential of your Android device and customize it to suit your needs.
How Do I Enable Developer Options on My Android Device?
Enabling developer options is a simple process, but the steps may vary slightly depending on your device and Android version. Here’s a general guide:
1. Go to your device’s “Settings” menu.
2. Scroll down and tap on “About phone” or “About tablet”.
3. Find the “Build number” or “Build version” option and tap on it seven times.
4. You will see a message that says “You are now a developer!”
5. Go back to the main settings menu and you should see a new option called “Developer options”.
Once you’ve enabled developer options, you can explore the various settings and customize your device to your liking.
Are There Any Risks or Downsides to Enabling Developer Options, and How Can I Minimize Those Risks?
Enabling developer options does come with some risks, as it gives you access to advanced settings that can potentially harm your device if used incorrectly. However, these risks can be minimized by following some best practices:
– Only change settings that you understand and have a specific reason for changing.
– Be cautious when enabling USB debugging, as it can potentially give malicious apps access to your device.
– Keep your device’s firmware up to date to ensure that security vulnerabilities are patched.
By following these guidelines, you can safely enjoy the benefits of developer options without putting your device at risk.
Conclusion
Thanks for visits imagerocket.net for reading this article on how to enable developer options on your Android device. We hope that you now have a better understanding of the benefits of enabling this feature, and how to do so on your own device.
By unlocking the power of your Android through developer options, you can customize your device to meet your unique needs, optimize performance, and even develop your own apps. With a little bit of know-how and some experimentation, the possibilities are endless.
But as with any new feature, it’s important to use developer options responsibly. Be sure to read up on each setting and understand the potential impact before making any changes. And always back up your device before making any major modifications.
In conclusion, enabling developer options on your Android device is a simple and valuable process that can help you get the most out of your device. Whether you’re a developer or a power user, the benefits are clear. So go ahead, unlock the power of your Android today!


