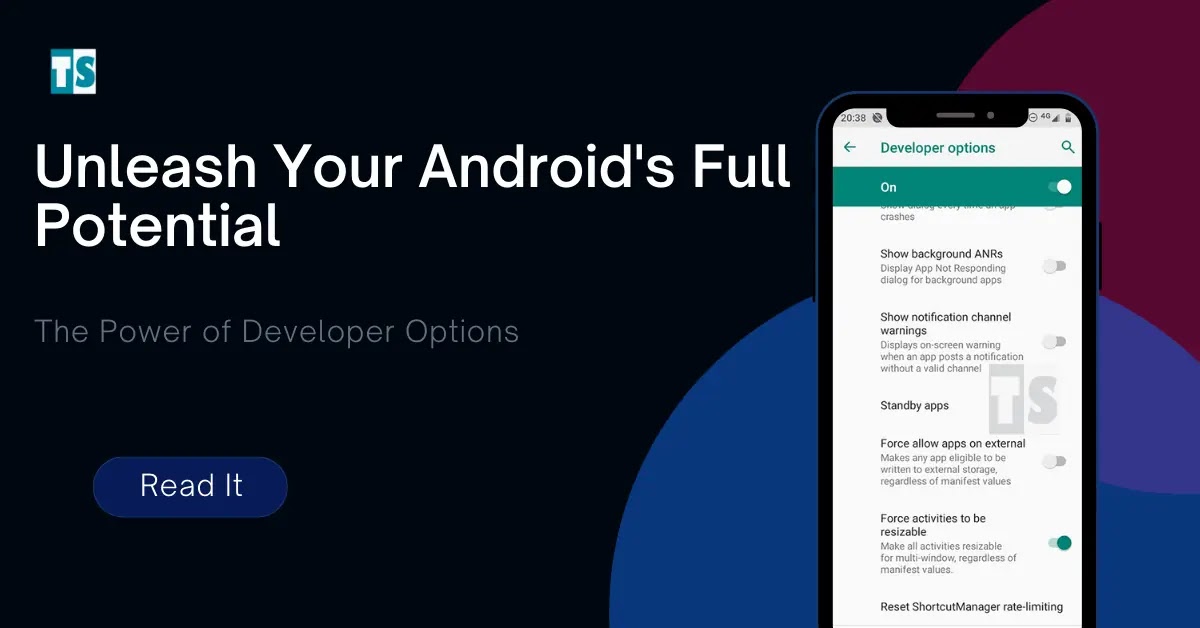
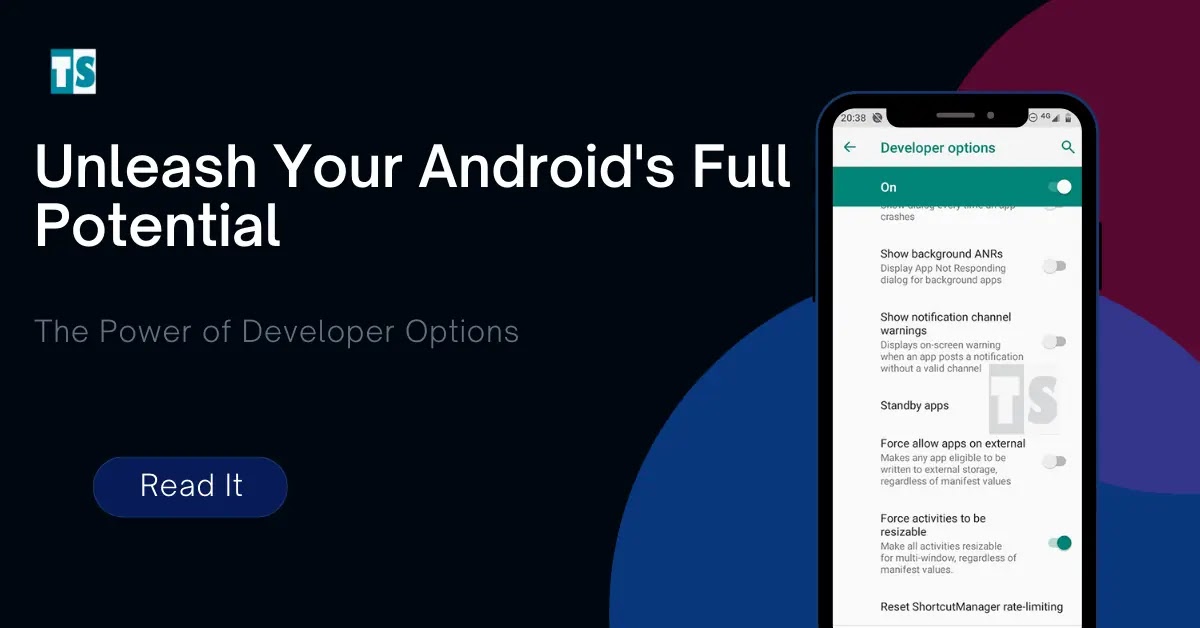
Are you tired of your Android device’s limited capabilities? Do you want to unleash its full potential? Look no further than the developer options. By unleashing these advanced features, you can customize and optimize your device in ways you never thought possible.
Accessing the developer options may seem daunting, but it’s actually quite simple. Just go to your device’s settings, scroll down to “About phone” or “About tablet,” and tap on the build number seven times. Voila! You are now a developer with access to a plethora of advanced features. From changing animation speeds to enabling USB debugging, the possibilities are endless. So, what are you waiting for? Unleash the power of developer options and take your Android experience to the next level.. You may need to know : Unlock the Power of Your Android: Enabling Developer Options Made Easy
Have you ever felt limited by the features on your Android device? Maybe you’ve wanted to customize your device in a way that just wasn’t possible with the default settings. That’s where Developer Options come in. This hidden menu can unlock a whole world of advanced features and customization options that can take your Android experience to the next level. In this blog post, we’ll explore how to enable Developer Options, the advanced features it offers, how to customize your device, and some troubleshooting tips.
Table of Contents
Enabling Developer Options: Finding the Hidden Menu
To access Developer Options, you first need to enable it. The process may differ slightly depending on your device, but generally, you can enable Developer Options by following these steps:
1. Go to Settings on your Android device.
2. Scroll down to About Phone and tap on it.
3. Look for Build Number and tap on it repeatedly (around seven times) until you see a message that says “You are now a developer!”
Once you’ve enabled Developer Options, you can access it by going to Settings > System > Developer Options.
Advanced Features: USB Debugging, OEM Unlocking, ADB & Fastboot
Now that you’ve enabled Developer Options, you can start exploring the advanced features it offers. Here are some of the most useful ones:
USB Debugging
This feature allows you to connect your Android device to a computer and use the Android Debug Bridge (ADB) to debug apps, access the device’s file system, and more. To enable USB Debugging, simply toggle the switch next to it in Developer Options.
OEM Unlocking
If you want to install custom ROMs or modify the firmware on your device, you’ll need to enable OEM Unlocking. This feature allows you to unlock the bootloader on your device. However, be warned that doing so may void your warranty.
ADB & Fastboot
ADB and Fastboot are powerful command-line tools that allow you to perform a wide range of tasks on your Android device, such as installing custom ROMs, rooting your device, and more. To use ADB and Fastboot, you’ll need to connect your device to a computer via USB and have the necessary drivers installed.
Customizing Your Device: Changing Animation Scales, Enabling Dark Mode, Tweaking Performance Settings
One of the most appealing aspects of Developer Options is the ability to customize your Android device in ways that aren’t possible with the default settings. Here are some of the most popular customization options:
Changing Animation Scales
By default, Android devices have animations that make transitions between apps and menus smoother. However, these animations can slow down your device. With Developer Options, you can adjust the animation scales or even turn them off completely to make your device faster.
Enabling Dark Mode
If you prefer a darker color scheme, you can enable Dark Mode in Developer Options. This feature changes the background color of your device’s menus and apps to a darker shade, which can be easier on your eyes and conserve battery life.
Tweaking Performance Settings
If you want to optimize your device’s performance, you can use Developer Options to adjust settings like the CPU usage, GPU rendering, and more. Be careful when making these changes, as they can potentially cause issues with your device if done incorrectly.
Troubleshooting Tips: Fixing Software Issues with Developer Options
Sometimes, your Android device may experience software issues that are difficult to fix with the default settings. Developer Options can help with some of these issues. Here are some troubleshooting tips:
– If your device is running slowly, try adjusting the animation scales or turning them off completely.
– If you’re experiencing app crashes or other software issues, try enabling USB Debugging and using ADB to access the device’s logs and troubleshoot the issue.
– If you’ve installed a custom ROM or modified the firmware on your device and are experiencing issues, try enabling OEM Unlocking and using Fastboot to flash the original firmware back onto your device.
Conclusion: Emphasizing the Benefits of Developer Options
Frequently Asked Questions
By enabling developer options, you can access a range of advanced features on your Android device, including:
– USB Debugging: This feature allows you to connect your device to a computer and transfer data between them.
– Show Touches: This feature displays a visual feedback when you touch the screen, which can be useful for debugging and troubleshooting.
– Animation Scale: This feature lets you adjust the speed of animations on your device, which can improve its performance and battery life.
Enabling Developer Options on Your Android Device
To enable developer options on your Android device, follow these steps:
1. Go to “Settings”
2. Scroll down to “About Phone”
3. Find “Build Number” and tap it seven times until you see a message saying “You are now a developer!”
4. Go back to “Settings”
5. Scroll down to “System” and tap “Developer options”
6. Toggle the switch to turn on developer options
Negative Effects of Using Developer Options
While using developer options can improve your user experience, it can also have negative effects on your device’s performance or stability if used incorrectly. For example, adjusting the “Animation Scale” to a lower value can improve performance, but setting it to a higher value can cause lag and drain your battery. Similarly, enabling “Force GPU Rendering” on unsupported apps can cause graphical glitches or even crashes.
Conclusion
Thanks for visits imagerocket.net for taking the time to read this article on unleashing the power of developer options. As we have seen, developer options are an incredibly powerful tool that can help you to master advanced features and optimize your Android device. By learning how to use these options effectively, you can enhance your device’s performance, improve battery life, and gain more control over your device’s features and settings.
Whether you are a seasoned developer or a novice user, there are many benefits to exploring the world of developer options. From tweaking animations and transitions to enabling USB debugging and customizing your device’s interface, the possibilities are endless. With a little bit of practice and experimentation, you can unlock the full potential of your device and take your Android experience to the next level.
In summary, mastering advanced features through developer options is a great way to get more out of your Android device. By learning how to use these options effectively, you can optimize your device’s performance, extend its battery life, and gain more control over its features and settings. So why wait? Start exploring the world of developer options today and unleash the full power of your Android device!


