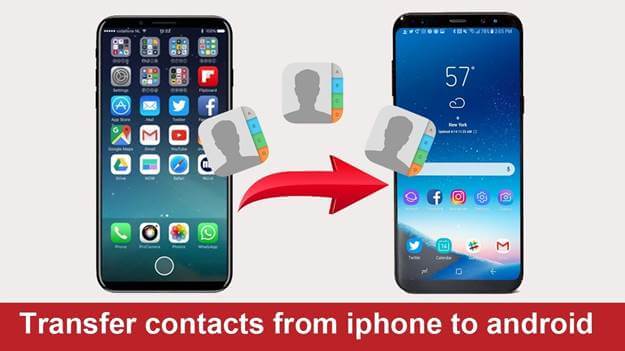
Transferring contacts from iPhone to Android can be a daunting task for many. However, it is not as complicated as it may seem. With the right guidance, it can be done in just a few minutes. In this easy guide, we will show you how to transfer your contacts from iPhone to Android effortlessly.
Firstly, it is important to note that there are different methods of transferring contacts from iPhone to Android. However, we will focus on the most straightforward method, which involves using Google Contacts. This method is easy to follow and does not require any technical skills. So, let’s get started!
Are you switching from iPhone to Android but worried about losing your contacts? Don’t worry! With this easy guide, you can transfer your contacts in minutes without any hassle. Follow these steps to transfer contacts from iPhone to Android:
Table of Contents
1. Backup Contacts on iPhone
The first step to transferring contacts is to back them up on your iPhone. You can back up your contacts to iCloud or iTunes. To back up your contacts to iCloud, go to Settings > iCloud > Backup and turn on iCloud Backup. To back up your contacts to iTunes, connect your iPhone to your computer and open iTunes. Click on your iPhone icon and select “Backup Now”.
2. Sync iPhone Contacts to Google Account
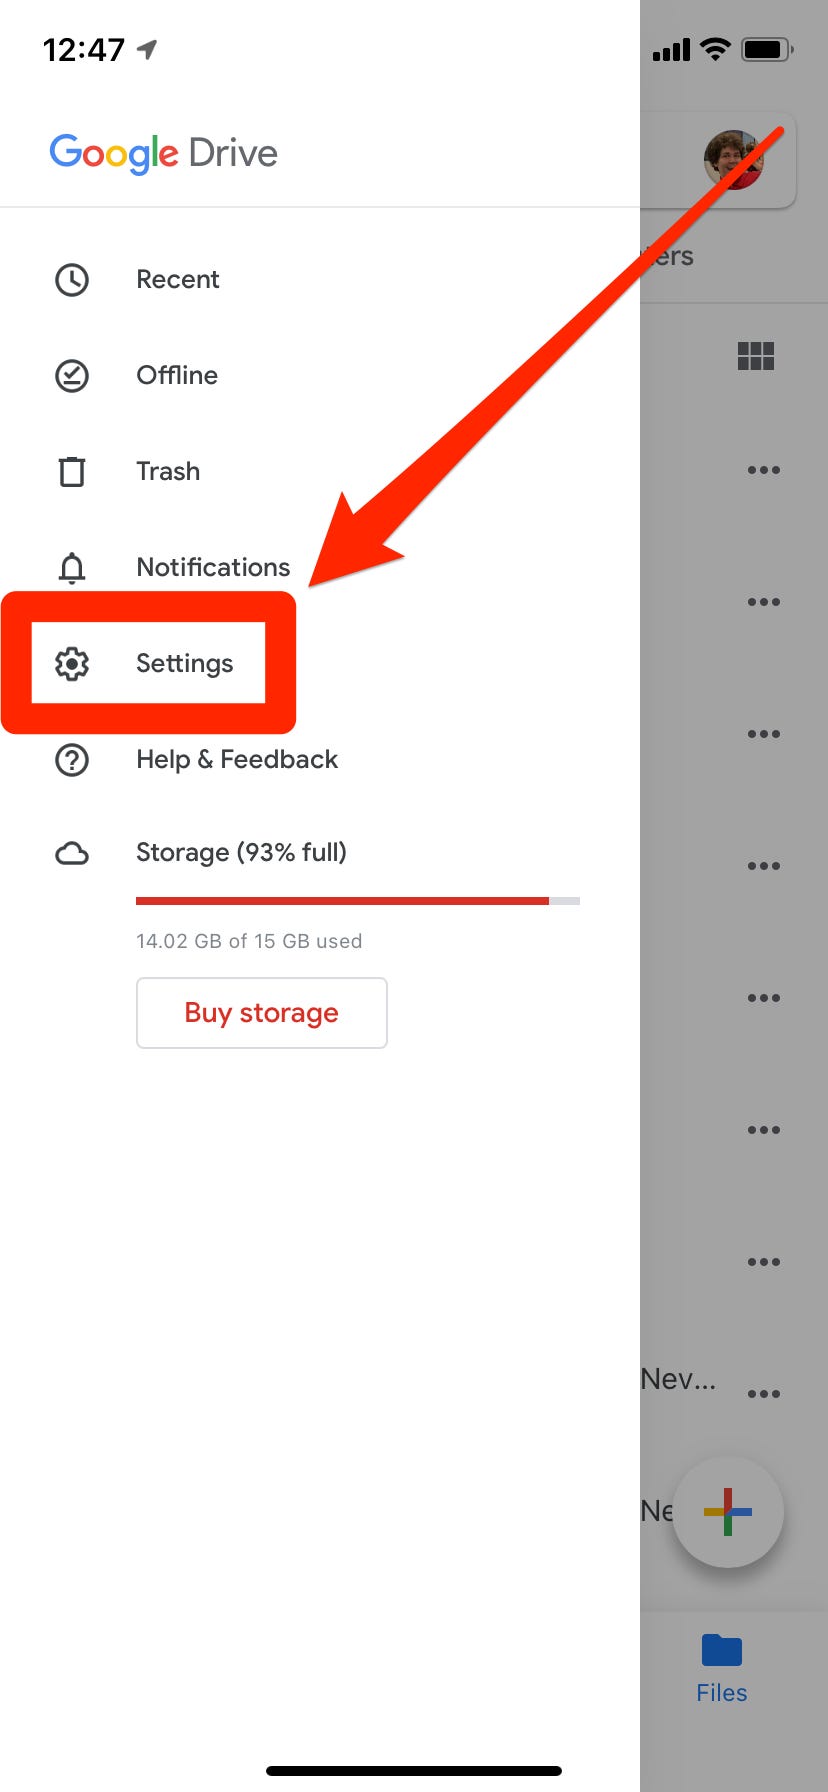
Once you have backed up your contacts, the next step is to sync them to your Google account. To do this, go to Settings > Passwords & Accounts > Add Account > Google. Enter your Google account details and turn on “Contacts” syncing. Your iPhone contacts will now be synced to your Google account.
3. Import Google Contacts to Android
Now that your iPhone contacts are synced to your Google account, you can easily import them to your Android device. Open the Contacts app on your Android device and go to Settings > Import/Export > Import from USB storage. Select the vCard file that you exported from your Google account and click on “Import”.
4. Verify Contact Transfer
After importing your contacts, make sure to verify that all of them have been transferred successfully. Open the Contacts app on your Android device and check if all your contacts are there. You can also check your Google account to ensure that all your contacts have been synced.
5. Troubleshooting Common Transfer Issues
If you face any issues while transferring your contacts, don’t panic. Here are some common issues and their solutions:
– Contacts not syncing: Make sure that “Contacts” syncing is turned on in your Google account settings.
– Duplicate contacts: If you have duplicate contacts, merge them on your iPhone before syncing to your Google account.
– Missing contacts: If some of your contacts are missing, make sure that they are included in the backup and synced to your Google account.
With these easy steps, you can transfer your contacts from iPhone to Android in no time. Say goodbye to the hassle of manually entering contacts and hello to your new Android device!
Frequently Asked Questions
The easiest way to transfer contacts from an iPhone to an Android device is to use the “Move to iOS” app. This app is available on both the App Store and Google Play Store. It allows you to transfer your contacts, messages, photos, and other data from your iPhone to your new Android phone. Simply download the app on your iPhone, connect your devices to the same Wi-Fi network, and follow the prompts.
Can I use iCloud or iTunes to transfer my iPhone contacts to my new Android phone?
While iCloud and iTunes can be used to backup your contacts on your iPhone, they cannot be used to directly transfer them to an Android device. However, you can export your contacts from iCloud or iTunes as a vCard file and then import them to your Android phone. To do this, log in to iCloud or iTunes on your computer, select your contacts, and export them as a vCard file. Then, transfer the vCard file to your Android device and import it to your contacts app.
Are there any third-party apps or software that can help me transfer my iPhone contacts to an Android device?
Yes, there are several third-party apps and software that can help you transfer your contacts from an iPhone to an Android device. Some popular options include:
– My Contacts Backup: This app allows you to backup your iPhone contacts as a vCard file and then transfer them to your Android phone via email or cloud storage.
– Google Contacts: If you have already synced your iPhone contacts with your Google account, they should automatically appear on your new Android device.
– AnyTrans: This software allows you to transfer your contacts, messages, photos, and other data from your iPhone to your new Android phone with just a few clicks.
Conclusion
Thanks for visits imagerocket.net for reading our guide on how to transfer contacts from iPhone to Android in just a few minutes. We hope that our step-by-step instructions have helped you make the transition smoothly and without any hassle.
Moving from one phone to another can be daunting, but with the right tools and knowledge, it can be a breeze. We have outlined the most straightforward methods to transfer contacts from your iPhone to your Android device, so you don’t have to worry about losing any of your valuable information.
Whether you’re switching to a new device or just want to have a backup of your contacts on a different phone, our guide has got you covered. By following our simple instructions, you’ll be able to transfer your contacts quickly and easily.
Remember to keep your data backed up regularly to avoid any potential data loss. And if you ever need to transfer other types of data, such as photos or messages, there are many tools available that can help you with that as well.
In conclusion, transferring contacts from iPhone to Android doesn’t have to be complicated. With our easy guide, you can do it in minutes and without any stress. We hope you found this guide helpful, and if you have any questions or feedback, please don’t hesitate to leave a comment below.


