Have you ever struggled with editing and sharing screenshots? It can be a tedious task that requires technical knowledge and time. But what if I told you that you can effortlessly edit and share screenshots with just a few simple steps? In this step-by-step guide, I will show you how to do just that.
Firstly, you need to choose the right tool for the job. There are many screenshot editing and sharing tools out there, but not all of them are created equal. One of the best tools for effortless editing and sharing is Lightshot. This free tool is easy to use and has a wide range of features that make editing and sharing screenshots a breeze.
Next, you need to capture the screenshot. With Lightshot, you can capture screenshots by pressing the PrtScn button on your keyboard or by using the Lightshot icon in your system tray. Once you have captured the screenshot, you can edit it effortlessly using Lightshot’s built-in editing tools. These tools include the ability to crop, resize, add text, and draw on the screenshot.
Finally, you can share your edited screenshot with ease. Lightshot allows you to share your screenshot via a link, email, social media, or even print it out. With just a few clicks, you can effortlessly edit and share screenshots with anyone, anywhere. So, why not give Lightshot a try and see how effortless screenshot editing and sharing can be?. You may need to know : Capture Your Screen: A Step-by-Step Guide on How to Take a Screenshot on Android

Screenshots are an essential tool for anyone who works with computers. They allow you to capture a moment on your screen and share it with others. Whether you need to show a colleague an error message or share a funny conversation with a friend, screenshots are a quick and easy way to do it. In this guide, we’ll walk you through the process of taking, editing, and sharing screenshots on your computer.
1. Taking a Screenshot: Shortcut Keys
Taking a screenshot on your computer is a simple process that can be done in a matter of seconds. The most common way to take a screenshot is by using shortcut keys. On a Windows computer, press the “Windows key + Print Screen” to take a screenshot of your entire screen. On a Mac computer, press “Command + Shift + 3” to take a screenshot of your entire screen. If you want to take a screenshot of a specific window, press “Command + Shift + 4” and then press the space bar. Your cursor will turn into a camera, and you can click on the window you want to capture.
2. Editing the Screenshot: Built-in Tools
Once you have taken a screenshot, you may want to edit it before sharing it with others. Fortunately, both Windows and Mac computers come with built-in tools that allow you to edit your screenshots. On a Windows computer, open the “Paint” application and paste your screenshot into the program. You can then use the various tools to crop, resize, or add text to your screenshot. On a Mac computer, open the “Preview” application and open your screenshot in the program. You can then use the various tools to crop, resize, or add text to your screenshot.
3. Sharing the Screenshot: Easy Options
Sharing your screenshot is the final step in the process. Both Windows and Mac computers offer several easy options for sharing your screenshot. You can email your screenshot, save it to your computer, or share it on social media. On a Windows computer, click on the “File” menu in the Paint application and select “Save As” to save your screenshot to your computer. You can then attach the screenshot to an email or share it on social media. On a Mac computer, click on the “File” menu in the Preview application and select “Export As” to save your screenshot to your computer. You can then attach the screenshot to an email or share it on social media.
4. Advanced Options: Third-Party Tools
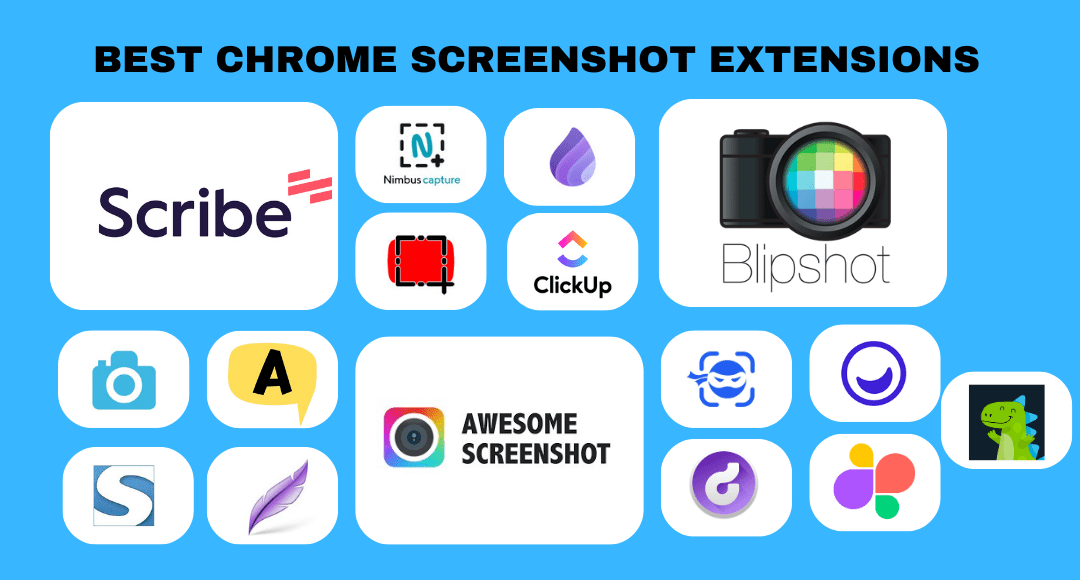
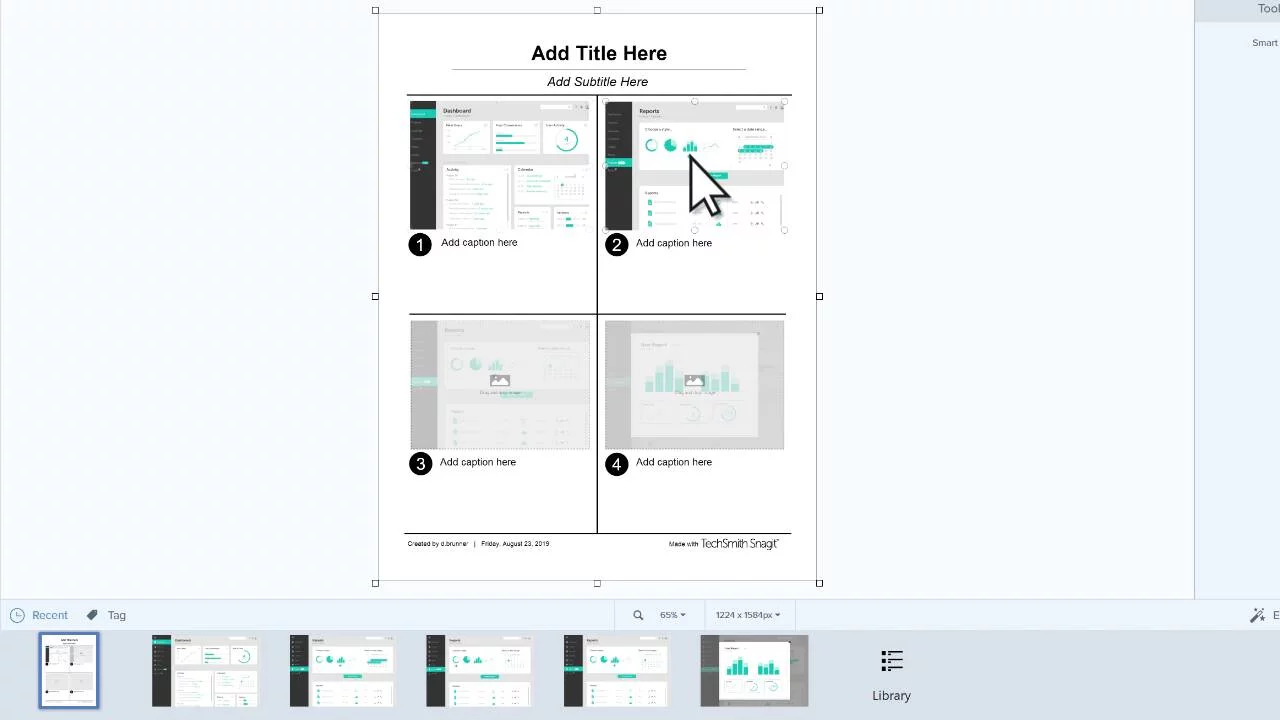
If you need more advanced editing options or want to share your screenshots in a specific way, there are several third-party tools available. Snagit is a popular tool that allows you to take screenshots, edit them, and share them in a variety of ways. Lightshot is another popular tool that allows you to take screenshots, edit them, and share them on social media. These tools offer more advanced editing options than the built-in tools on your computer and allow you to share your screenshots in more specific ways.
Frequently Asked Questions
Several tools and software can help you edit and share screenshots. Here are some popular options:
– **Snagit:** A powerful screen capture and editing tool that allows you to capture screenshots, edit them, and share them across different platforms. It comes with advanced features like scrolling capture, video recording, and GIF creation.
– **Lightshot:** A free and easy-to-use screen capture tool that allows you to capture screenshots, edit them, and share them with a single click. It comes with basic editing features like adding text, arrows, and shapes.
– **Skitch:** A screen capture and annotation tool that allows you to capture screenshots, add annotations, and share them across different platforms. It comes with features like text, arrows, shapes, and stamps.
Automating the Process of Editing and Sharing Screenshots
Yes, it is possible to automate the process of editing and sharing screenshots for efficiency. Here are some ways to do it:
– **Use Macros:** If you find yourself performing repetitive tasks while editing and sharing screenshots, consider using macros. Macros are a series of commands that can be recorded and played back to automate repetitive tasks.
– **Set up Custom Shortcuts:** Most screenshot tools and software come with default keyboard shortcuts. However, you can customize these shortcuts to suit your workflow. For example, you can set up a shortcut to automatically save a screenshot to a specific folder or share it on a specific platform.
Tips and Tricks for Streamlining the Workflow of Editing and Sharing Screenshots
Here are some tips and tricks to streamline your workflow:
– **Organize Your Screenshots:** Keep your screenshots organized by creating folders and subfolders. This will help you quickly find the screenshot you need when you need it.
– **Use Cloud Storage:** Storing your screenshots in the cloud will allow you to access them from anywhere and share them easily with others.
– **Use Templates:** If you find yourself using the same annotations or editing techniques repeatedly, consider creating templates. Templates can help you save time and maintain consistency across your screenshots.
Conclusion
Thanks for visits imagerocket.net for reading this step-by-step guide on effortlessly editing and sharing screenshots. With the ever-increasing importance of visual content in the digital world, it’s crucial to have the right tools and knowledge to create and share screenshots quickly and efficiently. By following the tips and techniques outlined in this guide, you can save time and streamline your workflow, making it easier to communicate your message with clarity and impact.
Whether you’re a blogger, marketer, or social media manager, the ability to create and share visually appealing screenshots is an essential skill in today’s digital landscape. With the right tools and techniques, you can easily edit and enhance your screenshots, ensuring they stand out and grab the attention of your audience.
In conclusion, we hope this guide has provided you with valuable insights and practical tips on how to effortlessly edit and share screenshots. By putting these tips into practice, you can streamline your workflow, save time, and create visually stunning content that resonates with your audience. So go ahead, give it a try, and start creating stunning screenshots today!


