If you’re tired of hearing the same old default ringtone on your Android phone, it’s time to switch things up and customize your ringtone to something that truly represents you. Fortunately, setting a custom ringtone on your Android device is a quick and easy process that anyone can do.
To start, you’ll need to choose the song or sound that you want to use as your ringtone. This can be any audio file that’s saved on your device, whether it’s a song from your music library or a sound effect that you’ve downloaded. Once you’ve chosen your ringtone, it’s time to set it as your default tone. In this blog post, we’ll walk you through the steps to set a custom ringtone on your Android device, so you can enjoy a personalized tone every time your phone rings.

As the most common way of receiving calls, ringtones have become an essential aspect of mobile devices. While Android devices come with a default selection of ringtones, customizing your ringtone can make your phone stand out and reflect your personality. Here are some easy steps to set a personalized ringtone on your Android device.
1. Choose a Song: Find the Perfect Tune
The first step in creating a custom ringtone is to find the perfect tune. You can use any song that you have downloaded on your device or search for one on music streaming apps like Spotify. However, not all songs are suitable for ringtones. When choosing a song, consider the following:
– Length: A ringtone should be short, ideally no longer than 30 seconds.
– Volume: Ensure that the song’s volume is not too low or too high, as it can affect the quality of the ringtone.
– Lyrics: Avoid songs with explicit lyrics, as they may not be appropriate for all audiences.
2. Edit the Song: Trim and Save
Once you have chosen the perfect song, the next step is to edit it. You can use the default audio editor on your Android device or download third-party apps like Ringtone Maker or MP3 Cutter to trim and save the song as a ringtone. Follow these steps to edit the song:
– Open the audio editor app and select the song you want to edit.
– Use the app’s editing tools to trim the song to the desired length.
– Save the edited song as a ringtone.
3. Set the Ringtone: Assign to Contact
After creating your personalized ringtone, the next step is to set it as your default ringtone or assign it to specific contacts. Follow these steps to set the ringtone:
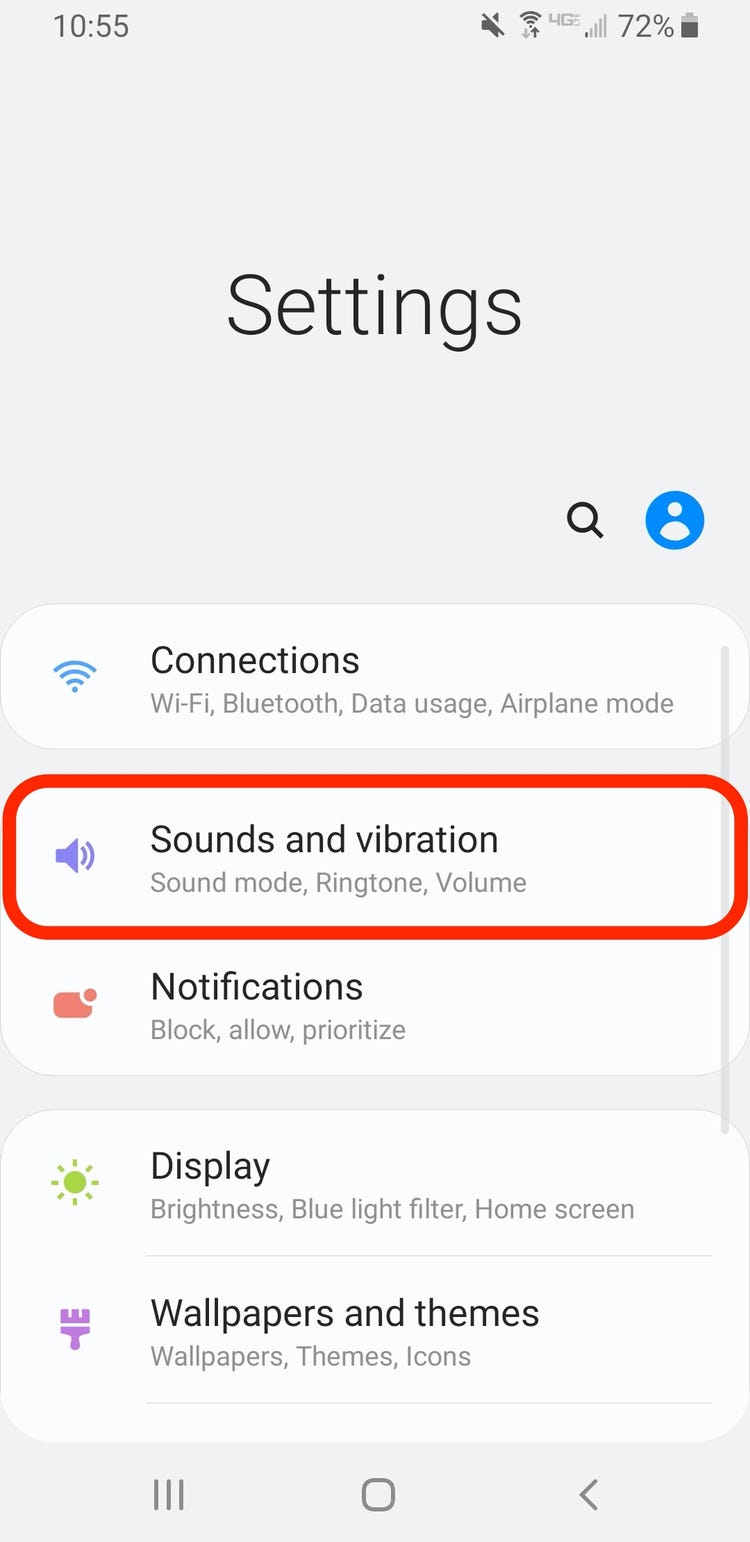
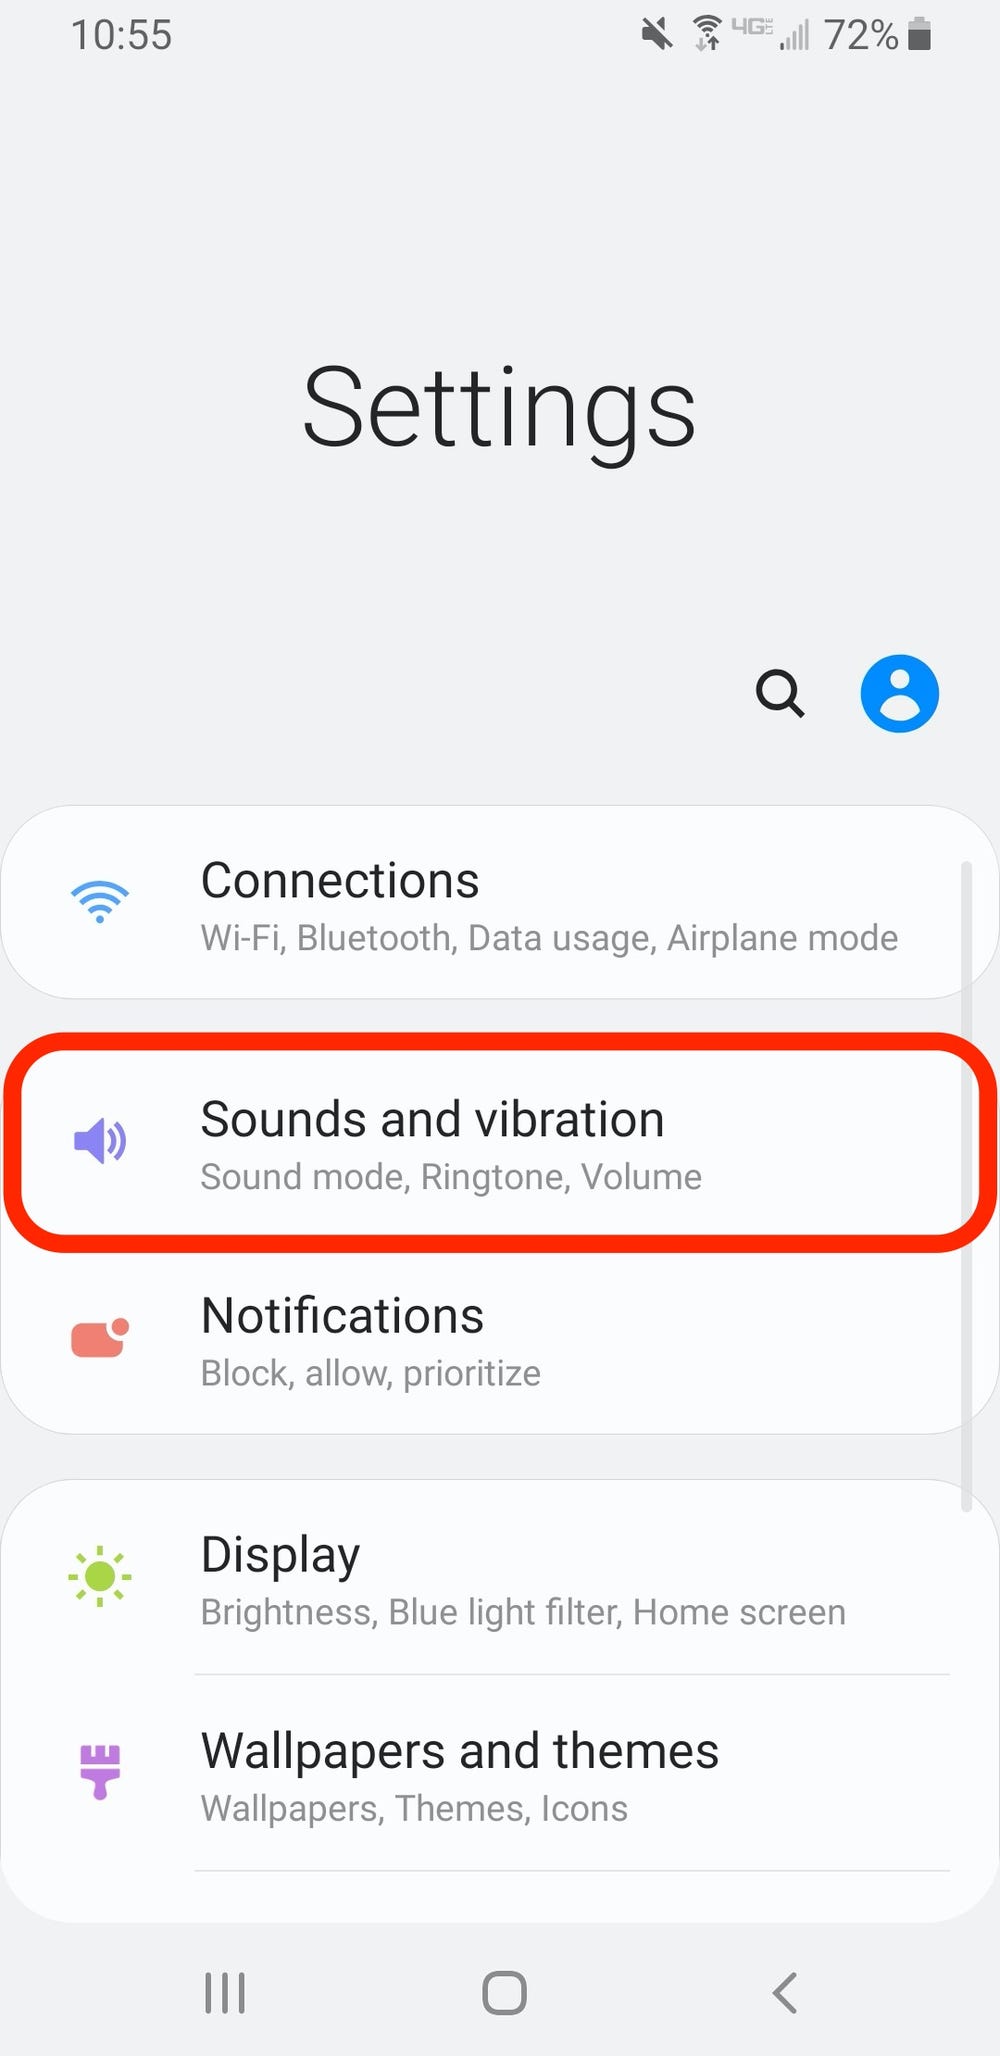
– Go to your device’s settings and select “Sound.”
– Select “Phone ringtone” or “Default ringtone.”
– Choose the personalized ringtone you created.
To assign the ringtone to a specific contact, follow these steps:
– Go to your contact list and select the contact you want to assign the ringtone to.
– Select “Edit contact.”
– Scroll down and select “Ringtone.”
– Choose the personalized ringtone you created.
4. Use Apps: Simplify the Process
If you find the above steps too complicated, there are several apps available on the Google Play Store that can simplify the process. Apps like Zedge and Myxer offer a wide selection of pre-made ringtones and allow you to create custom ringtones using their editing tools.
5. Troubleshooting: Common Problems and Solutions
If you encounter any problems while creating or setting your personalized ringtone, here are some common solutions:
– Ringtone not appearing: Ensure that the ringtone is saved in the correct folder on your device.
– Ringtone too low: Increase the volume of the ringtone using the editing tools.
– Ringtone not playing: Ensure that the ringtone is in a compatible audio format (e.g., MP3).
Table of Contents
Frequently Asked Questions
1. First, select the song or audio file you want to use as your ringtone.
2. Use a file manager app to move the file to the “Ringtones” folder on your phone.
3. Open the “Settings” app on your phone and select “Sound & vibration.”
4. Tap on “Phone ringtone” and select the custom ringtone you just added.
5. Save your changes and you’re done! You now have a personalized ringtone on your Android device.
What file format should the custom ringtone be in to work on an Android phone?
The best file format for a custom ringtone on an Android phone is MP3. This is because MP3 files are small in size and compatible with most Android devices. However, if your phone supports other file formats such as WAV or OGG, you can use those as well.
Can I set different ringtones for different contacts on my Android device?
Yes, you can set different ringtones for different contacts on your Android device. This is a great way to personalize your phone even further and know who is calling without even looking at your screen. To set a custom ringtone for a specific contact, follow these steps:
1. Open the “Contacts” app on your phone and select the contact you want to set a custom ringtone for.
2. Tap on “Edit” and then select “Ringtone.”
3. Choose the custom ringtone you want to use for this contact and save your changes.
Conclusion
Thanks for visits imagerocket.net for reading this guide on how to customize your Android ringtone. It’s easy to set a personalized tone that reflects your personality and preferences. With the steps outlined in this blog, you can customize your ringtone in just a few clicks.
Personalizing your ringtone is a great way to make your Android device feel more like your own. It’s a simple way to add a little bit of personality to your device and make it stand out from the crowd. Whether you choose a song, a sound effect, or a custom recording, your ringtone can say a lot about who you are.
One of the great things about Android is that it’s highly customizable. From wallpapers to widgets to ringtones, you can make your Android device look and sound exactly the way you want it to. And with the easy steps outlined in this guide, customizing your ringtone is no exception.
So go ahead and try out some of the tips and tricks outlined in this blog. With a little bit of creativity and some experimentation, you can find the perfect ringtone that reflects your unique style and personality. And who knows, maybe your friends and family will be inspired to customize their own ringtones too!


