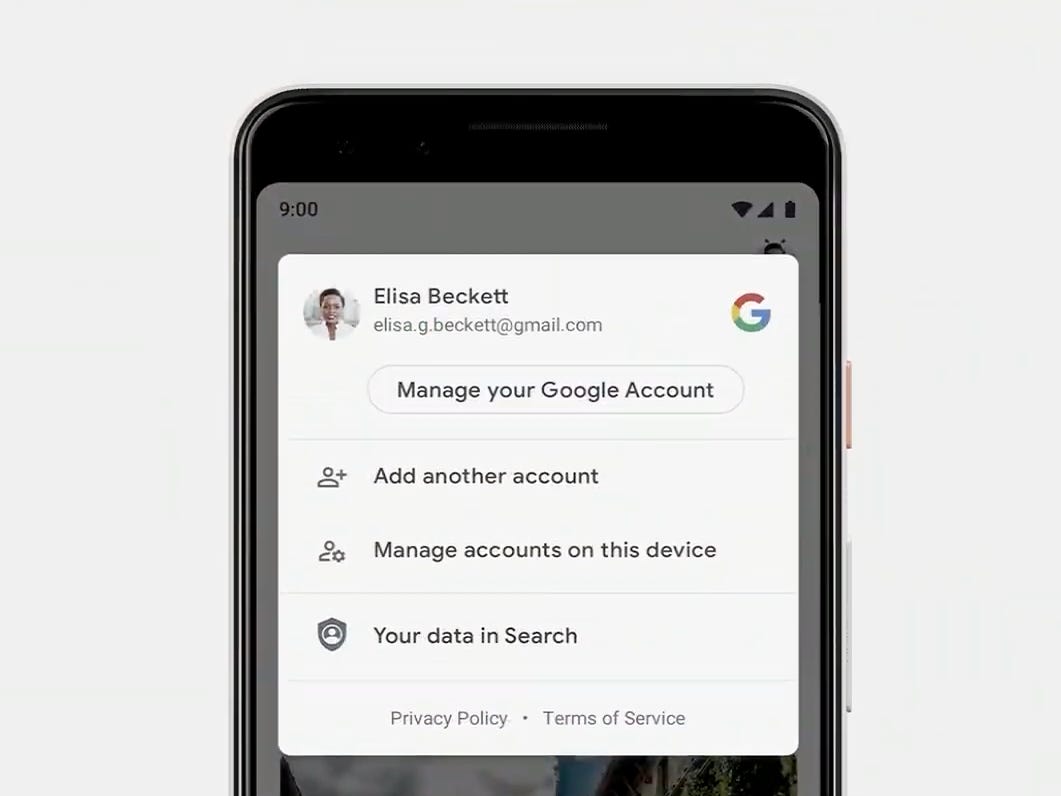
Are you tired of having multiple Google accounts linked to your Android device? Removing a Google account from your phone can be a simple process, but it’s not always straightforward. In this post, we’ll show you how to remove a Google account from Android in just a few easy steps.
First, it’s important to note that removing a Google account from your Android device will delete all data associated with that account, including contacts, emails, and app data. So, before you proceed with the steps below, make sure to back up any important information you want to keep. Now, let’s get started on how to remove a Google account from Android.
As we become increasingly reliant on technology in our daily lives, it’s important to consider the security and privacy of our personal information. One way to ensure this is by managing our Google accounts on our Android devices. If you’re looking to unlink your Google account from your Android device, here are some reasons why you might want to do so and a step-by-step guide on how to achieve it.
Table of Contents
Reasons to Unlink Google Account
Privacy concerns
If you’re concerned about the safety and security of your personal information, unlinking your Google account from your Android device is a simple step to take. This will prevent unauthorized access to your data and limit the amount of information that can be tracked by Google.
Multiple accounts
If you have multiple Google accounts and you no longer need them all on your device, unlinking the accounts that you no longer use can declutter your device and make it easier to manage.
Step-by-Step Guide to Unlink Google Account
Access Settings
From your Android device, navigate to the “Settings” app.
Tap Accounts
Scroll down to find the “Accounts” option and tap it.
Select Google Account
Select the Google account you want to unlink from your device.
Remove Account
Tap the three-dot menu in the top-right corner and select “Remove Account.” Confirm your decision by tapping “Remove Account” again.
Tips for a Successful Unlinking Process
Backup important data
Before unlinking your Google account, it’s important to backup any important data that you may have on your device. This includes contacts, photos, and any other files that you may need.
Clear cache and data
Clearing your cache and data can help speed up your device and ensure a smooth unlinking process.
Reboot device
After unlinking your Google account, it’s important to reboot your device to ensure that all changes take effect.
What Happens After Unlinking Google Account?
Data loss
Unlinking your Google account may result in the loss of some data, including contacts and app data. It’s important to backup your data before proceeding with the unlinking process.
App access changes
After unlinking your Google account, you may need to sign in to certain apps again to regain access. This is because some apps require a Google account to function.
Linking a New Google Account
Access Settings
From your Android device, navigate to the “Settings” app.
Tap Accounts
Scroll down to find the “Accounts” option and tap it.
Add Account
Select “Add Account” and choose “Google.” Follow the prompts to sign in with your new account details.
Frequently Asked Questions
Yes, you can remove a Google account from your Android phone without resetting it. To do this, go to the “Settings” app on your phone, then select “Accounts and backup”. From there, select “Accounts”, then choose the Google account you want to remove. Tap on the account, then tap on “Remove account”. You may need to enter your phone’s password or pattern to confirm the action.
What happens to my data and apps when I remove a Google account from my Android phone?
When you remove a Google account from your Android phone, the data associated with that account will be deleted from your phone. This includes your contacts, emails, and app data. However, the apps themselves will remain on your phone, as long as they were downloaded from the Google Play Store. If you downloaded apps from a different source, they may also be deleted.
How do I ensure that all traces of a deleted Google account are removed from my Android phone?
To ensure that all traces of a deleted Google account are removed from your Android phone, follow these steps:
1. Go to “Settings” on your phone and select “Apps and notifications”.
2. Scroll down and select “Google Play services”.
3. Tap on “Storage and cache”.
4. Tap on “Clear storage” and “Clear cache”.
This will remove any data associated with your Google account from your phone’s Google Play services, ensuring that all traces of the account are removed.
Conclusion
Thanks for visits imagerocket.net for reading this guide on how to remove a Google account from an Android device. We hope that this has been helpful to you in unlinking your account and securing your privacy.
It is important to remember that removing a Google account from your device will also remove all associated data and content. Therefore, it is recommended to back up any important information before proceeding with the unlinking process.
In addition, it is worth noting that removing a Google account from your Android device may result in certain apps and services becoming inaccessible. So, it is important to consider the consequences before making the decision to unlink your account.
Overall, the process of unlinking a Google account from an Android device is relatively simple and straightforward. With the steps outlined in this guide, you can easily remove your account and ensure the privacy and security of your personal information.
We hope that this guide has been helpful to you in understanding how to remove a Google account from your Android device. If you have any questions or comments, please feel free to leave them below. Thanks again for reading!


